
.svg)


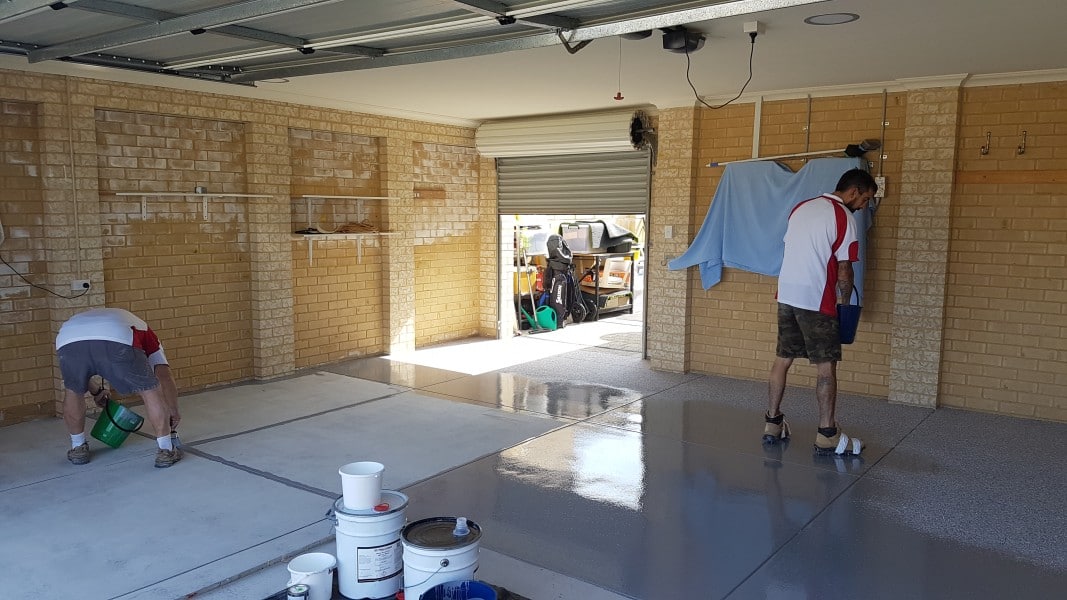
If you’re considering upgrading your concrete surfaces, it’s normal to wonder what the process actually looks like. Many homeowners and business owners ask: how does epoxy floor installation work, and how long does it take?
Understanding the epoxy floor installation process can help you feel more confident in your decision and know exactly what to expect from start to finish.
Every epoxy floor installation starts with a consultation. This is where your needs, goals, and the condition of your concrete are evaluated.
During this step, professionals will:
This ensures that the final result matches both your expectations and the demands of the area.
One of the most important parts of epoxy floor installation is surface preparation. Without it, the coating won’t properly bond to the concrete.
This step typically includes:
Proper surface preparation creates a clean and solid foundation, which is essential for a long-lasting epoxy floor installation.
Once the surface is fully prepared, the epoxy floor installation process moves on to applying the base coat.
This layer acts as the foundation of the system, bonding directly to the concrete and creating the first level of protection.
The base coat is carefully applied to ensure even coverage and strong adhesion across the entire surface.
After the base coat is applied, decorative vinyl flakes are broadcast across the surface. This step adds both texture and visual appeal to the epoxy floor installation.
The flakes help:
This is what gives epoxy flooring its signature style.
Once the flakes have set and the surface has cured, a protective topcoat is applied.
This final step in the epoxy floor installation process is critical for durability. The topcoat helps protect against:
A high-quality topcoat locks everything in and ensures the floor performs well over time.
Before the project is complete, a final inspection is done to ensure everything meets quality standards.
After that, the floor will need time to cure. Cure times can vary depending on the system used, but most epoxy floor installation projects allow for light use within a short period.
Full curing ensures maximum strength and durability.
Most epoxy floor installation projects can be completed within a few days, depending on the size of the area and the condition of the concrete.
Factors that can affect timing include:
Even though the process is quick, each step is essential for long-term results.
While DIY kits are available, professional epoxy floor installation ensures that every step—from preparation to finishing—is done correctly.
This leads to:
Cutting corners during installation can lead to peeling, cracking, or premature wear, which is why professional work makes a big difference.

At DFW Flake & Epoxy Floor Coatings, we follow a proven epoxy floor installation process designed to deliver high-quality results for garages, patios, driveways, and commercial spaces.


.svg)